DIY Wire Noticeboard.

IMG_5407A while back I announced how I am trying to revamp our little rental space by using little to no means of money – so the other week I made this wire noticeboard to adorn the writing table. All for a grand total of £8.48, the most expensive part being the spray paint.

The base itself comes straight out of our garden. We have three of these standing around unused, so I figured one could might as well move inside. However, you may also purchase some wire cloth and then cut it into an appropriate size. This is well lighter and thus allows you to hang it on the wall like an ordinary notice board, if you would wish to.

DSC_0525
DSC_0535DSC_0524

HOW TO: 

1. I started off by cleaning the grid using a sponge and some soapy water.
2. Make sure the ground is covered, you can use a bunch of old paper cartons or plastic bags. I stayed out in the garden doing this to prevent staining (and odor, although I do love the scent of spray paint!)
3. Once the grid had dried and ground was covered – I sprayed a first thin layer of paint all over it + one side of my pins that were originally in all neon colours of the rainbow. I then left the paint to dry for 45ish minutes, before applying a second coat of paint.
4. I waited another couple of hours to bring the grid inside, leaving it on plastic bags to be absolutely sure it was dry before starting to decorate.
5. Go crazy with pins! And light bulbs!

DSC_0529DSC_0534As a bonus it also provides storage for jewelry/sunglasses.

DIY computer chair upcycling.

IMG_4962
I am currently on a mission to revamp our humble abode, but by using little to no means of money. One item that has been particularly high on my hit list was this blue computer chair that, to put it nicely, looks like it had seen its better days.
before
In other words it’s pretty darn ugly. In particular after it started peeling(?)
DSC_0822
But fear not, the internet held the solution as ever. At one of the local charity shops I bought a set of curtains for £2.25 and was thus ready to change my office chair into its summer gear.

All you need is: 

→ chair in need of change
→ a pair of scissors
→ a piece of fabric wide enough to cover the seat + backrest with a ~5 cm ratio on each side
→ a flat head screwdriver / kitchen knife

during
1. Drape the fabric over the chair, and make sure you have at least 5 cm all the way around it too, before cutting along the edges into an appropriate size.
2. Secondly, using the flat headed tool, simply tuck the fabric in under the edges of the plastic ‘cover’ of the chair. Make sure there is enough fabric on each side, so adjust the fabric as you go along.
3. Repeat with the next part of the chair.

If this was not comprehensive enough, I suggest you watch this video or similar on youtube.
after
Voila, a very neat (and cheap!) way to revive an old piece of furniture. What do you think?

For more inspiration and ideas, I suggest a quick pinterest search.

DIY: 2 ingredient body scrub

All coffee addicts raise a hand.

I am afraid this post is not on coffee per se, but instead on how you may reuse those coffee grounds rather than throwing them straight down the bin.

Personally, I love these lists like “38 ways to use coconut oil” etc. This is a combination of two such lists – a way to use coconut oil and coffee grounds to make…

A coffee-coconut body scrub! 

IMG_2153
Mmm, I made this the other day and as the coffee lover I am thought it was a heavenly way to shower.

The recipe is super basic, one simply needs:

  • 2 parts coffee grounds
  • 1 part coconut oil

And then you just blend the two together using a spoon. (For my fellow Swedes: it feels a little like making chokladbollar!)
You could opt the coconut oil with olive oil = a looser scrub, that is also easier to blend.
IMG_2144
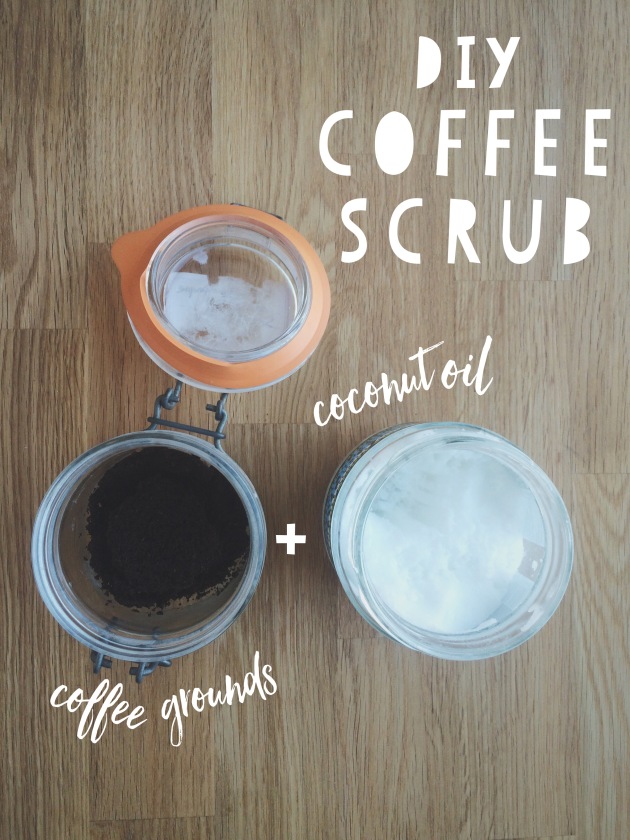
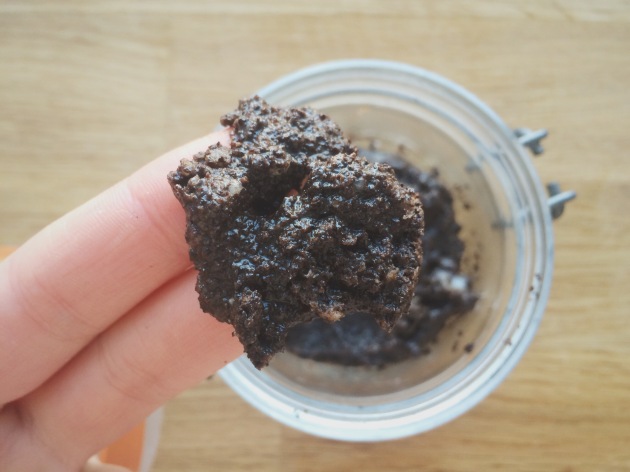
Make sure to wash all the coffee grounds off your body after use, but leave the coconut oil be – it works as a moisturizer.
(If this was a TV-shop infomercial I’d be like “The coffee scrub TM – saving you time AND money! ;)”)

Oh and PS: Do not use the scrub too late at night if you are caffeine-sensitive or there might not be too much sleep that night.

DIY Deodorant.

It’s been almost a year since I stopped using commercial deodorant. You’re all going “yuck” now with cringing noses. Well, if you take a look at the back of your deodorant bottle I’m fairly certain you, like myself, wouldn’t know the meaning of half the ingredients, nor know how to pronounce them. Now, why do you think that is?

The cosmetic industry is notoriously poorly regulated, which means these industry giants can just pretty much put anything they want into their products without having to answer to anyone. And let’s face it – their choices aren’t about your safety, it’s about their bottom line.
    – Tracy Raftl, The Love Vitamin

To most people the general idea of the skin seems to be that it is a thick, plastic layer resistant to whatever we smudge on it. In fact, about 60% of what goes on your body actually gets absorbed by the skin. We’re talking a cocktail of estrogen mimickers and carcinogens. Applying these substances straight to your skin is in some ways worse than if you would actually eat them, as my house-guru Tracy Raftl explains “because it doesn’t have to get past the body guards that are your digestive system and liver“. Instead these toxins go straight into your blood stream. 

So ponder you would walk past the deodorant-shelves next time you’re at the supermarket. What are the benefits of making your own deodorant?

  • it’s simple, cheap and eco-friendly!
  • you have full awareness of what you put on your skin (and it’s all edible!)
  • it doesn’t block or prevent your body’s natural cleaning process

To make your own deodorant you will need equal parts of (I usually go for 1tbsp): 

  • Coconut Oil
  • Baking Soda
  • Xanthan gum (or any thickener, such as corn flour/potato starch) 
  • 5-10 drops essential oil (opt.) 

Instructions: Combine the dry ingredients together before mixing it up with the coconut oil. If the oil is rock hard, you can microwave if for a few seconds to make it softer. Note that you do not want it completely melted, it will change the consistency of the deodorant. You want it to be sort of a paste. If you are adding essential oil, now is the time to stir that in. Finally, put the mixture in an air tight, clean container and put a lid on it. Done! Simply smudge it on to your (washed) arm pit. 

More reading on the topic:
“How Your Beauty Products Are Making You Sick & Acne Prone” Tracy Raftl, The Love Vitamin
“188. En hemgjord effektiv deodorant…” Leva Livet Nu